How to Use GPT Image 2.5: A Complete Beginner Tutorial
Learn how to use GPT Image 2.5 from the first prompt to the final edit, including model choice, quality, aspect ratio, reference images, and refinements.
 Image25 AI Team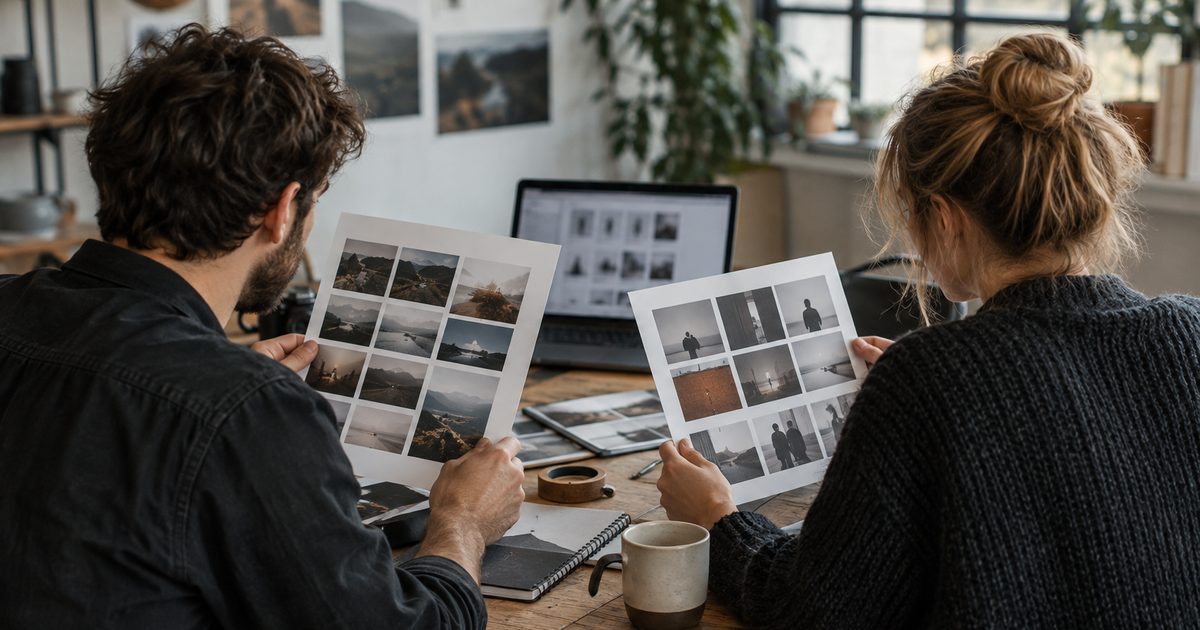
GPT Image 2.5 is easiest to use when you treat image creation as a short workflow instead of a single magic prompt. Decide what you are making, choose the model for the job, set the output shape and quality, describe the visible result, and inspect the first image before refining it.
For most new projects, use this sequence:
- Define the final asset and where it will be used.
- Choose Flare for fast iteration or Sunburst when demanding quality matters more.
- Set the aspect ratio and output quality before generating.
- Write a prompt with a clear deliverable, subject, composition, and constraints.
- Add reference images only when they control identity, layout, product details, or style.
- Inspect the complete result and make one focused edit at a time.
The GPT Image 2.5 generator follows this same decision pattern with model, ratio, quality, prompt, and reference-image controls.
The photographs in this tutorial are AI-generated editorial scenarios illustrating selection, reference editing, and final review. They are not customer photographs, product screenshots, or measured generation results.
What you need before you start
A good result begins with a good brief. Before opening a generator, answer four questions:
- What is the asset: a product hero, portrait, thumbnail, poster, diagram, or edit?
- Where will it appear: a website, social post, presentation, print file, or personal project?
- What must remain exact: a product shape, person, text, color, logo, or camera angle?
- What can change between versions: the background, weather, clothing, lighting, or composition?
This prevents a common failure mode: asking for an image that is “professional” without describing what professional means for the actual use case. A website hero may need negative space for copy. A thumbnail may need a clear subject at small size. A product cutout may need transparent edges and no background at all.
Step 1: Choose Flare or Sunburst
GPT Image 2.5 offers two model choices. OpenAI’s current prompting guide describes Flare as the speed-focused model and Sunburst as the quality-focused model. Start with the model that matches the decision you need to make:
| Your immediate goal | Starting choice | What to check |
|---|---|---|
| Explore several visual directions | Flare | Is the subject and composition good enough to continue? |
| Produce a difficult edit or detailed asset | Sunburst | Are the important details preserved? |
| Move an existing GPT Image 2 workflow forward | Flare | Does the quality remain acceptable on the same inputs? |
| Recover details that the first pass missed | Sunburst | Does the same prompt improve the specific failure? |
Do not compare models with different prompts and settings at the same time. Keep the prompt, reference images, output dimensions, and quality constant for the first comparison. Otherwise, you are testing several variables at once.
For a visual decision table, see Flare vs Sunburst.
Step 2: Set the output shape and quality
The output shape should follow the placement, not your personal preference. Use a square image for icons or profile graphics, a landscape image for a website hero or presentation slide, and a portrait image for a phone screen, poster, or cover.
The Image25 interface exposes common aspect-ratio choices and 1K, 2K, and 4K quality options. Higher output quality is useful when the asset will be inspected closely or cropped later, but it is not a substitute for a clear prompt. First make the composition correct at a practical setting, then test whether a higher setting improves a real problem.
Before you generate, check the credit estimate shown by the interface. The estimate depends on the selected model and quality, and the available configuration can change. Treat the displayed value as the current source of truth rather than copying a number from an old tutorial.
Step 3: Write the first prompt
A practical GPT Image 2.5 prompt can use this order:
Create [deliverable] of [subject] in [setting].
Composition: [camera angle, framing, placement, and negative space].
Visual direction: [medium, palette, materials, and lighting].
Constraints: [what to preserve, what to exclude, and any exact text].
Example:
Create a 16:9 website hero image for a calm productivity app.
Show a dark notebook, a ceramic cup, and a small desk lamp on a warm oak desk.
Composition: eye-level three-quarter view, objects grouped on the left, clean negative space on the right.
Visual direction: editorial product photography, soft morning window light, warm ivory and charcoal palette.
Constraints: no people, no logos, no watermark, no readable text, no extra devices.
This is specific without trying to control every pixel. If the first output has the wrong balance, correct the balance in the next edit instead of writing a completely new prompt.
Step 4: Add reference images with a job description
Reference images help when the model needs a visual source of truth. Use them for a product’s geometry, a character’s identity, a pose, an existing room, or a composition that should remain recognizable.
Do not upload a reference image and leave its role unexplained. Say what the image controls and what may change:
Use reference image 1 for the product shape and label placement.
Use reference image 2 for the warm color palette only.
Change the background to a clean studio wall. Preserve the product proportions and camera angle.
The current Image25 generator UI accepts up to two reference images. If the references disagree, decide which one controls identity, composition, color, or material before you start. More references are not automatically better; unclear priorities make the edit harder to evaluate.
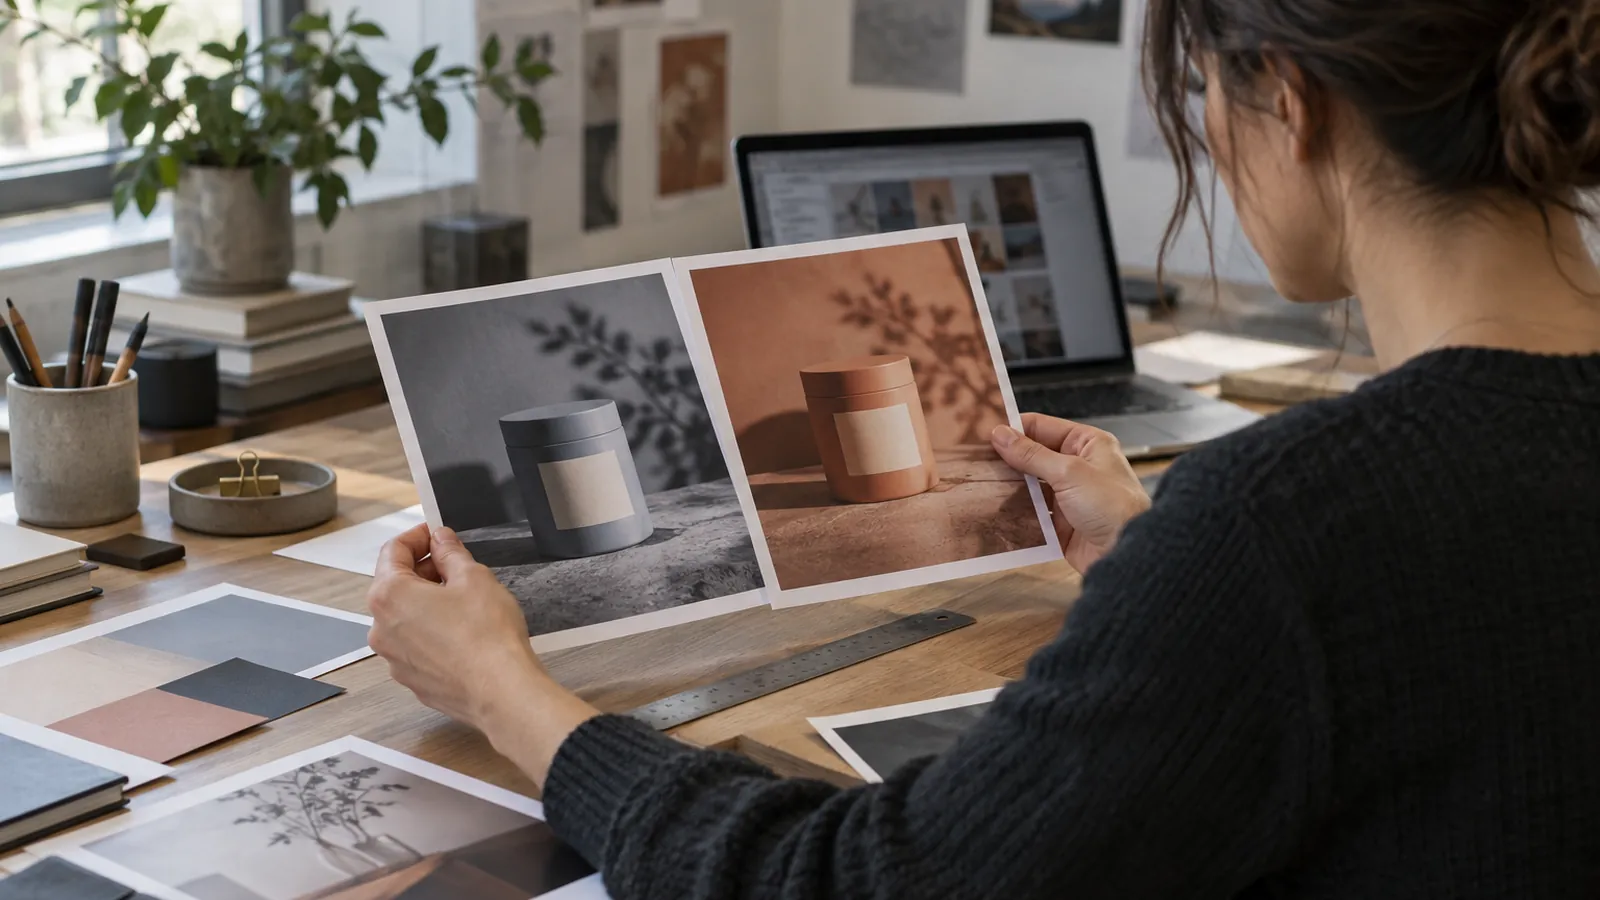
Assign each reference a job. Compare geometry and lighting separately from the one detail you want to change.
Step 5: Inspect the complete result
Do not judge an image only by its thumbnail. Check it at the size and crop where it will actually be used.
Look for:
- the requested subject and all required objects;
- usable composition at the selected aspect ratio;
- correct product geometry and recognizable identity;
- unwanted objects, extra fingers, logos, or watermarks;
- text spelling, punctuation, count, and placement;
- shadows, reflections, edges, and transparency;
- whether the visual style supports the actual use case.
For exact text, put the copy in a separate prompt block and request that it appears once. Then proofread the rendered image yourself. If the text is important to the business asset, keep a version without text as a fallback and add typography in a design tool when that produces a safer final result.
Step 6: Refine one variable at a time
A narrow editing loop gives you useful feedback:
- Save the first output and its settings.
- Name the single visible failure.
- Write one instruction that fixes that failure.
- Reuse the previous image when the task is an edit.
- Compare the revised output with the baseline.
Useful focused edits look like this:
Keep the product, camera angle, lighting, and table unchanged.
Replace only the background with a plain warm-gray studio wall.
Or:
Keep the same character design, colors, and proportions.
Change only the pose so the character is sitting and looking toward the window.
Avoid “make everything better.” It is impossible to evaluate and often changes details that were already correct.
Three practical workflows
Website hero
Start with a landscape ratio, place the subject away from the copy area, and describe the intended crop. Generate a low-risk first version, then refine the negative space and the object hierarchy. Check the image on both desktop and mobile crops.
Product edit
Use a reference photo for geometry and state exactly what may change. Keep the camera, shadows, and surrounding objects stable. Compare the edited image against the reference before using it in a store or campaign.
Repeating character or visual system
Create one reference character sheet, record the defining features, and repeat those constraints in later scenes. Change the environment or pose one at a time. Save the prompt and output together so a later edit has a clear baseline.
Common mistakes and fixes
| Problem | Likely cause | Better next step |
|---|---|---|
| The image looks attractive but is unusable | The prompt described style but not the deliverable | Name the asset, placement, crop, and required objects first. |
| The background changes during an edit | The prompt did not state what must stay | List the camera angle, lighting, product, and background constraints explicitly. |
| The model misses a small detail | Too many requirements compete for attention | Move the important detail into its own sentence and simplify the rest. |
| Text is wrong or repeated | Copy and placement were not isolated | Use an exact-text block and inspect the result manually. |
| You cannot tell which setting helped | Several settings changed together | Return to the baseline and change one variable. |
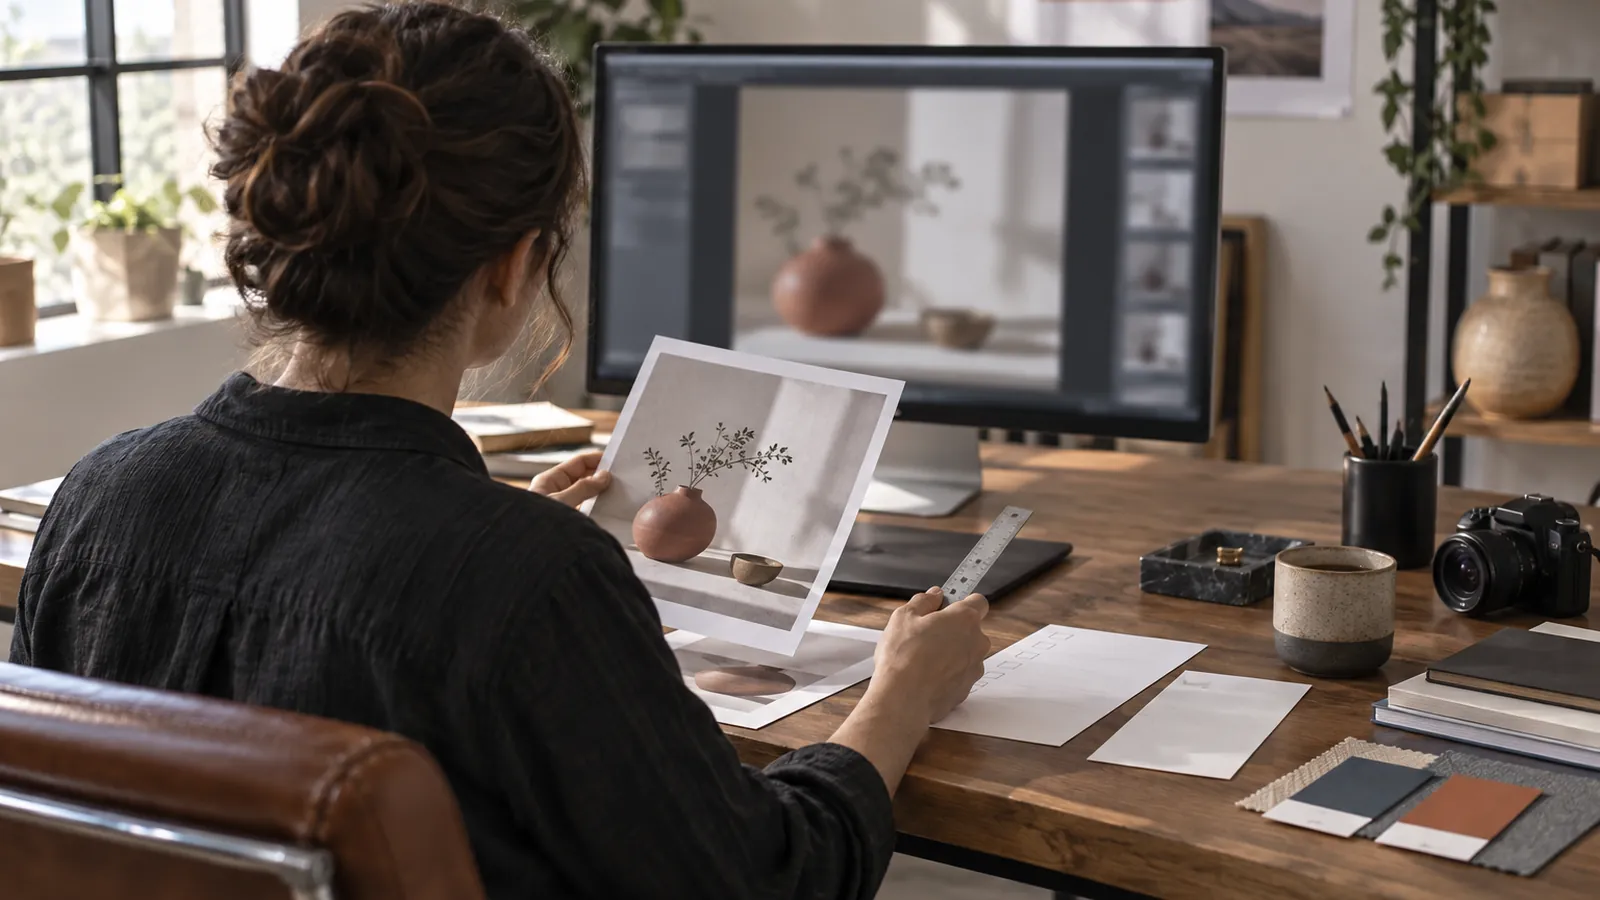
Inspect the final crop and output size, then save the chosen image with its prompt and settings.
Before you publish or download
Use this final checklist:
- Is the image made for a specific use case rather than a generic mood?
- Did you select the model and quality for the task’s real priority?
- Are the important details preserved?
- Is the crop usable on the destination surface?
- Did you check exact text and unwanted artifacts?
- Did you record the prompt, model, quality, aspect ratio, and references?
- Do you have a baseline version for comparison?
You can start with the Image25 AI generator, review GPT Image 2.5 examples, and compare the older and newer model lines in GPT Image 2 vs 2.5. Check pricing for current credit-pack details.
Sources and method
The model-selection, parameter, and editing guidance above follows the official OpenAI GPT Image 2.5 prompting guide, checked September 11, 2026. Image25 controls and credit estimates are product-interface details and may change; use the values displayed in the current generator.