
GPT Image 2.5 illustrative examples
These Image25 AI sample images demonstrate product, poster, portrait, and editing directions. Prompts and settings are illustrative, not verified user generations.
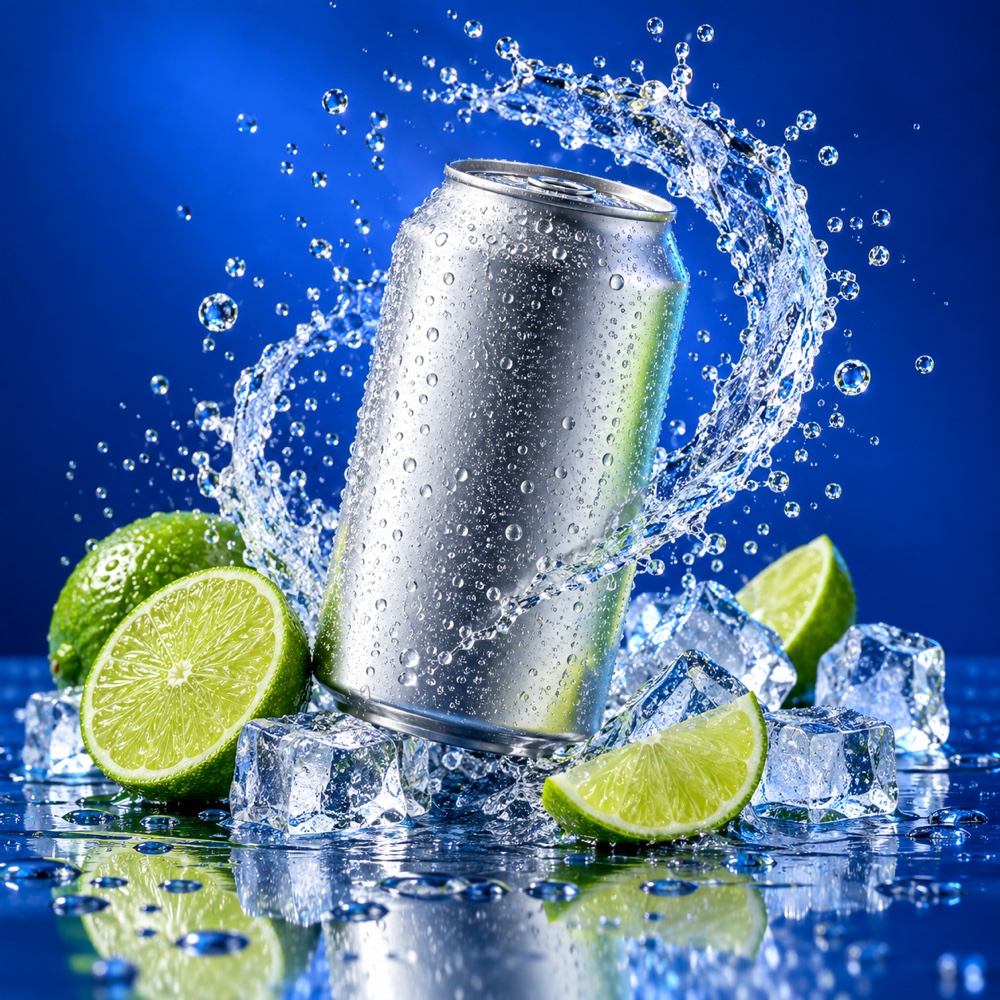 Product
A premium citrus soda can product photo with lime slices, ice, a frozen water splash, electric cobalt-blue studio lighting, and crisp condensation
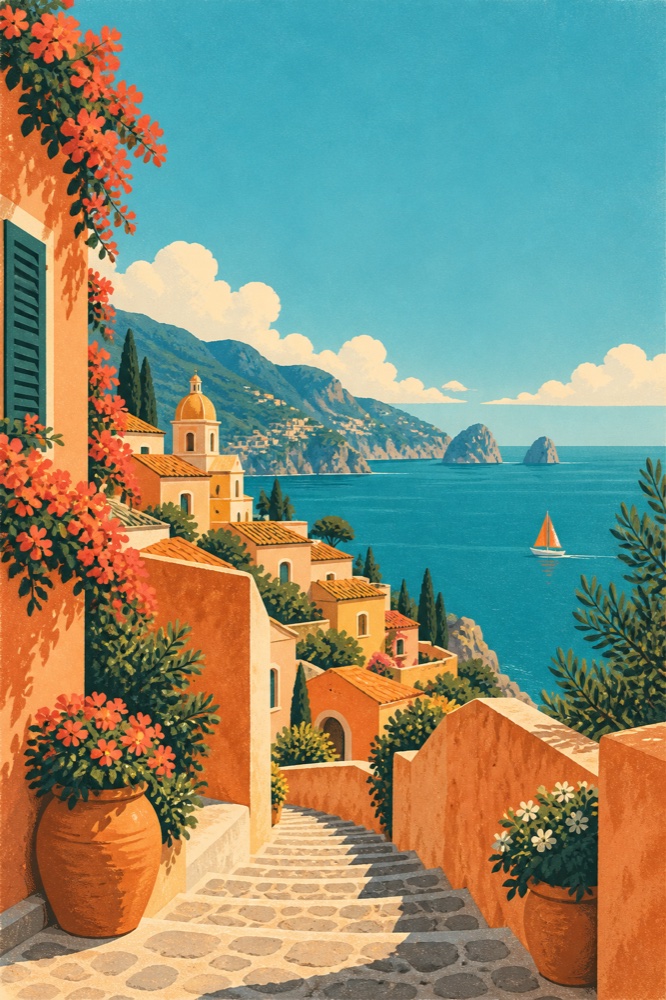 Poster
A sunlit illustrated coastal travel poster with terracotta buildings, turquoise sea, an orange sailboat, screen-print texture, and a bold short headline area
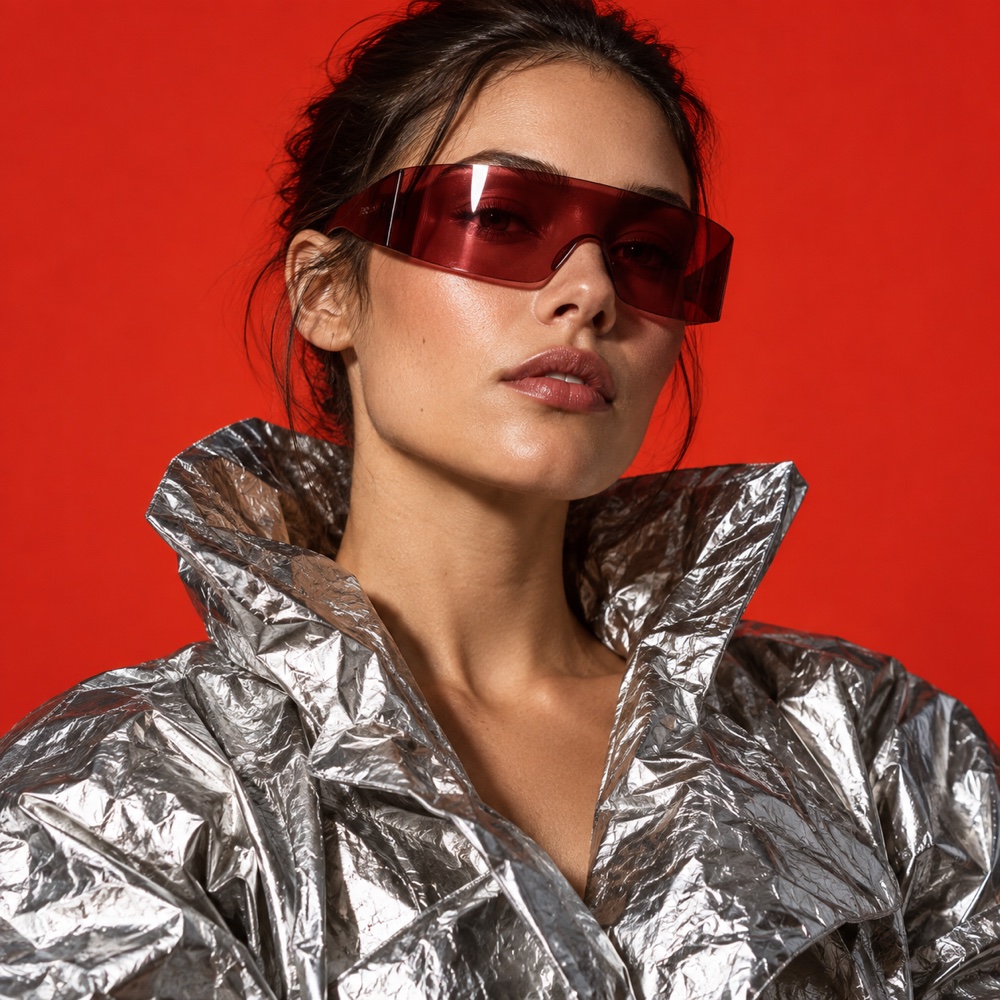 Portrait
A studio fashion portrait with a sculptural silver jacket, burgundy visor sunglasses, vermilion background, and realistic fabric highlights
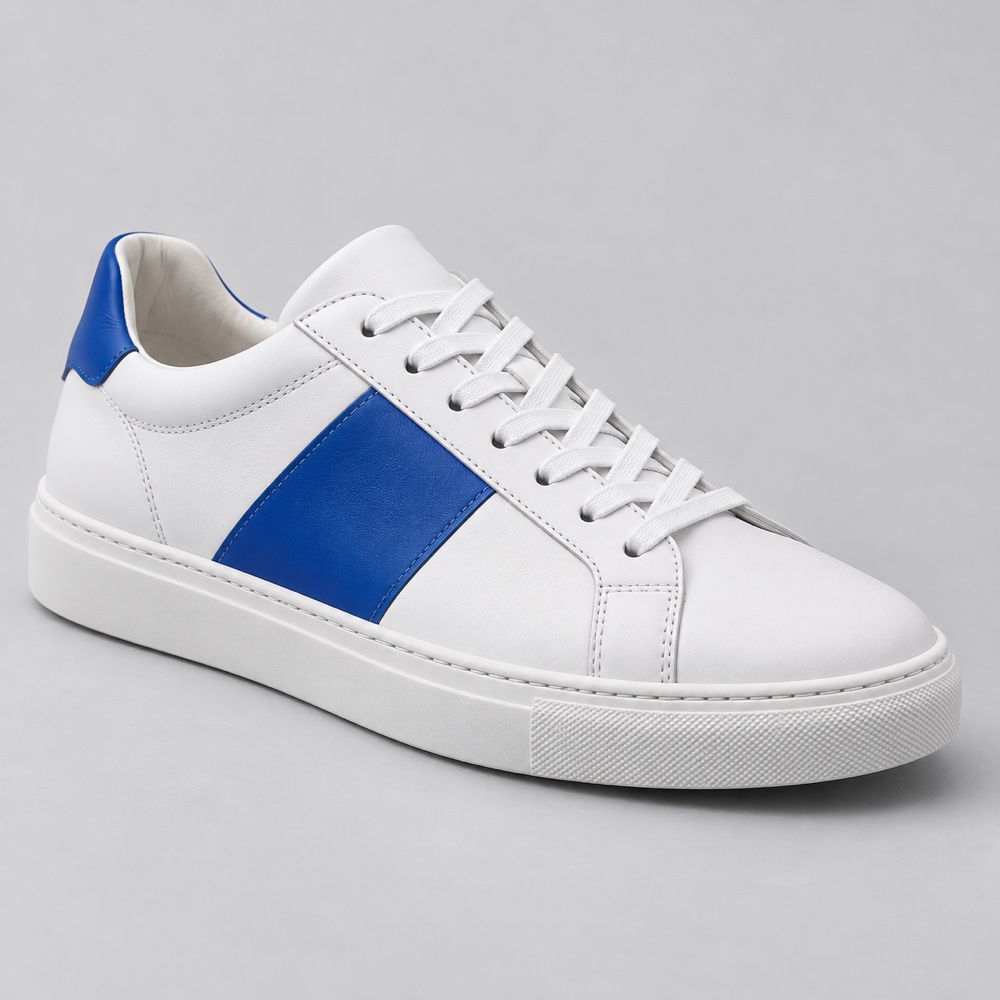 E-commerce
A clean ecommerce product photo of a premium white leather sneaker with a cobalt-blue side panel, soft shadow, and catalog lighting
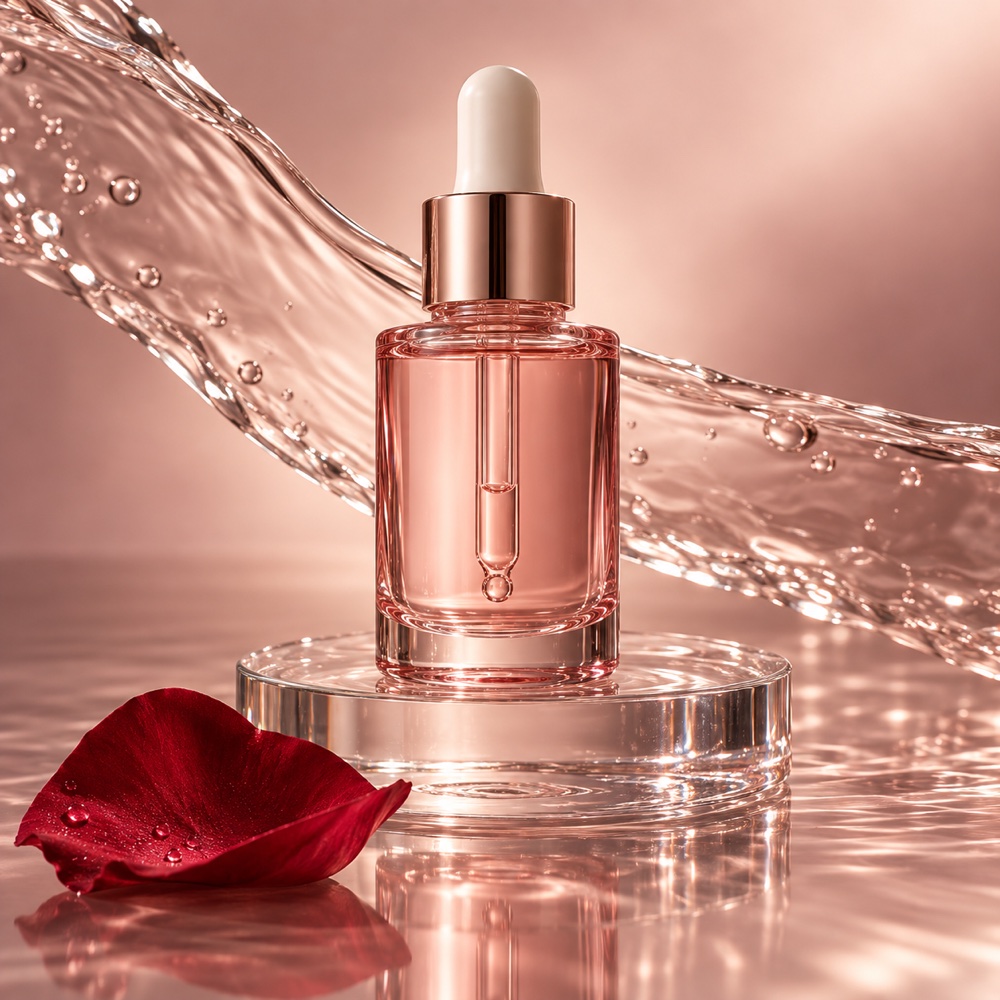 Beauty
A luxury rose serum product photo with translucent pink glass, a clear pedestal, flowing water, and a deep-red rose petal
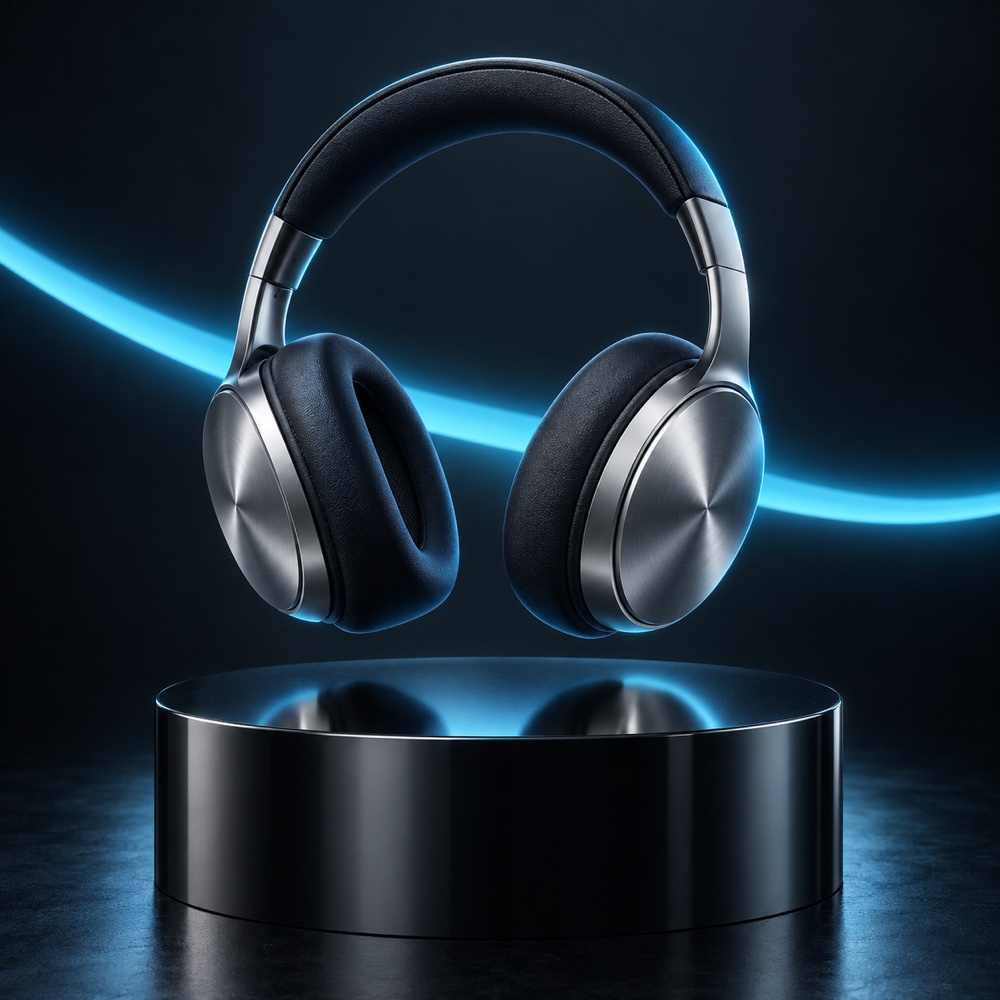 Technology
A futuristic chrome wireless headphone product campaign with cyan rim light, black reflective pedestal, and deep charcoal background
How to learn from these GPT Image 2.5 examples
Each GPT Image 2.5 example below lists a prompt, model (Flare or Sunburst), resolution, and approximate credit cost. The images are illustrative stand-ins for the described tasks, so treat the visual preview as a concept reference rather than proof of a particular generation. Copy the prompt into the generator, keep the same model when you want a controlled comparison, then change one variable—lighting, product, or background—so you can see which instruction changes the result.
Product and ecommerce shots usually work well on Flare at 1K or 2K. Poster and dense typography shots benefit from Sunburst at 2K or 4K. If text looks soft, shorten the headline in the prompt and raise resolution before switching models. These are starting points, not guarantees: the subject, reference images, composition, and wording can all change what needs another pass.
A practical way to read an example
Read each card as a compact experiment record. Start with the task category, then inspect the prompt for the nouns and constraints that define the brief. The model and resolution are separate variables, while the credit figure is an estimate for the displayed settings.
- Identify the deliverable first: a product shot, poster, portrait, ecommerce image, infographic, or fashion scene. This tells you which parts of the prompt are essential and which details you can replace.
- Underline the controllable details: subject, camera angle, light direction, materials, palette, background, typography, and exclusions. Keep those details when adapting the prompt to your own brief.
- Treat the preview as a visual direction only. The prompt, model, resolution, references, and iteration history matter more for reproducing a workflow than the sample image shown on the card.
Choose a model and resolution by task
Use the smallest setting that can answer the question you are testing, then move up only when the output check shows a real need. This keeps comparisons understandable and makes credit use easier to estimate.
- Choose Flare when you are exploring several compositions, drafting campaign variants, or checking whether a prompt direction is worth refining. Choose Sunburst when the shortlist depends on precise text, detailed structure, or multiple references.
- Use 1K for early layout and concept checks, 2K when the image needs to be reviewed or published at a common web size, and 4K when the brief calls for more room to inspect detail. Confirm the actual delivery size before committing to a higher setting.
- For a poster, make the headline short and explicit before increasing resolution. For a product image, decide whether the product shape or the surrounding scene is the priority. That choice is often more useful than changing models at random.
How to reproduce an experiment
A reproducible test changes one meaningful input at a time. The goal is not to recreate the stand-in image pixel for pixel; it is to learn which prompt and setting choices help your own task.
- Open the GPT Image 2.5 generator and paste the card prompt without editing it. Record the model, resolution, reference-image count, and the credit estimate before generating.
- Review the first result against the brief, not against the stock preview. Check subject identity, composition, lighting, palette, visible text, and unwanted objects.
- If one part is wrong, rewrite only that part of the prompt. For example, change the camera angle or background while leaving the subject and lighting unchanged.
- Run the same comparison at the next resolution only when the output check shows a detail or text problem. If the structure is wrong, fix the instruction before spending more credits.
- Save the prompt and settings that answered your question, then adapt the brief with your own product, subject, brand wording, and reference images. Review usage rights for every input and output before publishing.
Limits to keep in mind
Example cards simplify a real generation workflow. A prompt can guide an image, but it does not remove the need for review, iteration, and a final decision by the person using the result.
- The images on this page are illustrative generated references. They do not promise an identical output from the listed prompt, and they should not be read as user testimonials.
- A model label does not predict an identical result for every subject. Fine text, hands, repeated objects, reflections, and complex references may need shorter instructions or more than one pass.
- Resolution changes the working canvas and credit estimate, but it cannot repair an unclear brief. Check the composition and wording before treating a larger output as the fix.
- Before commercial or public use, inspect the image for factual errors, brand accuracy, readable text, unwanted artifacts, and any rights or policy requirements that apply to your project.
Open the GPT Image 2.5 generator · Compare Flare vs Sunburst · Review credits and pricing
Ready to create your own?
Start Generating