
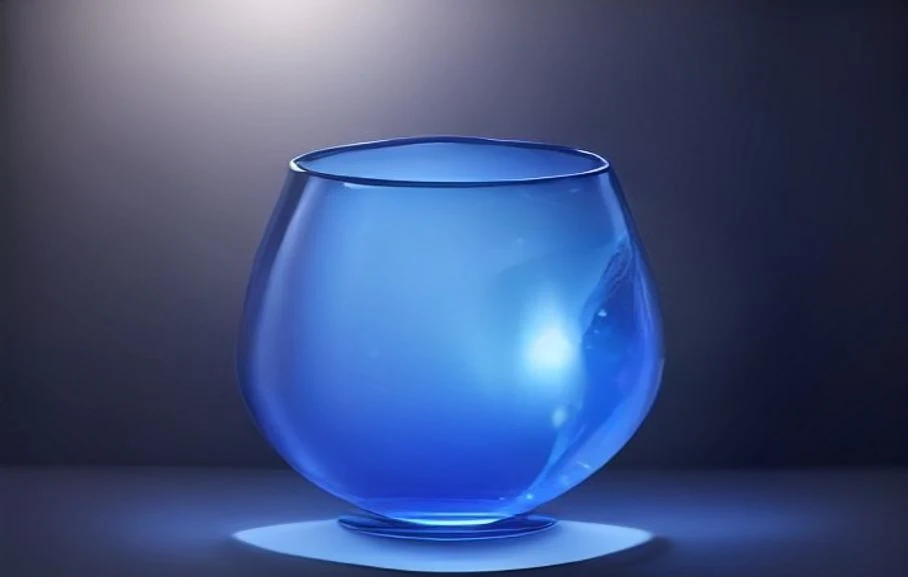
 Material
A sculptural transparent glass and liquid-metal object floating in a cobalt-blue studio with sharp reflections and dramatic rim light
Image25 AI · GPT Image 2.5
Type a prompt, choose your model, and generate in seconds. Welcome credits may be available for new users.
⌘/Ctrl + Enter to generate
146 / 10,000
Start with a prompt
MaterialA sculptural transparent glass and liquid-metal object floating in a cobalt-blue studio with sharp reflections and dramatic rim light
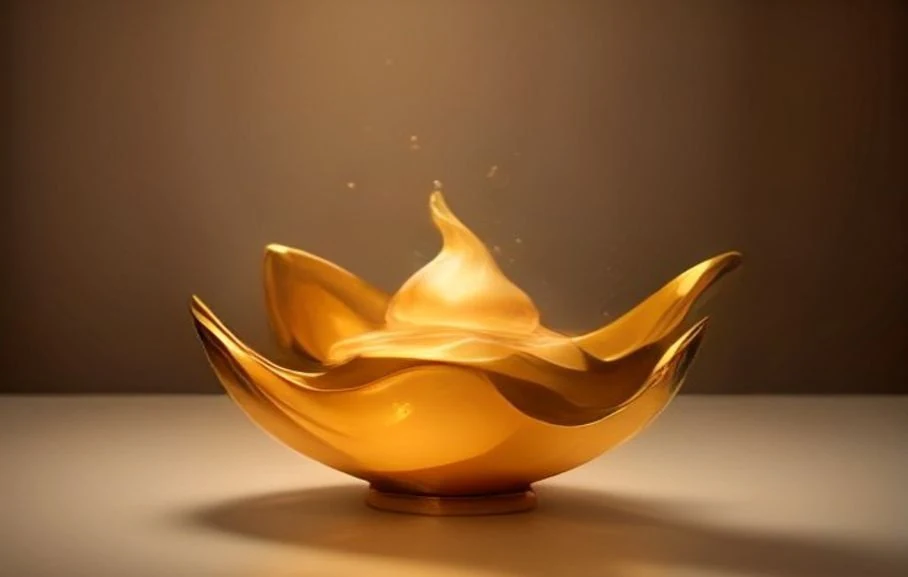 Surreal
Elegant golden sculptural hands and organic forms emerging from a warm cream liquid surface with tactile metallic reflections
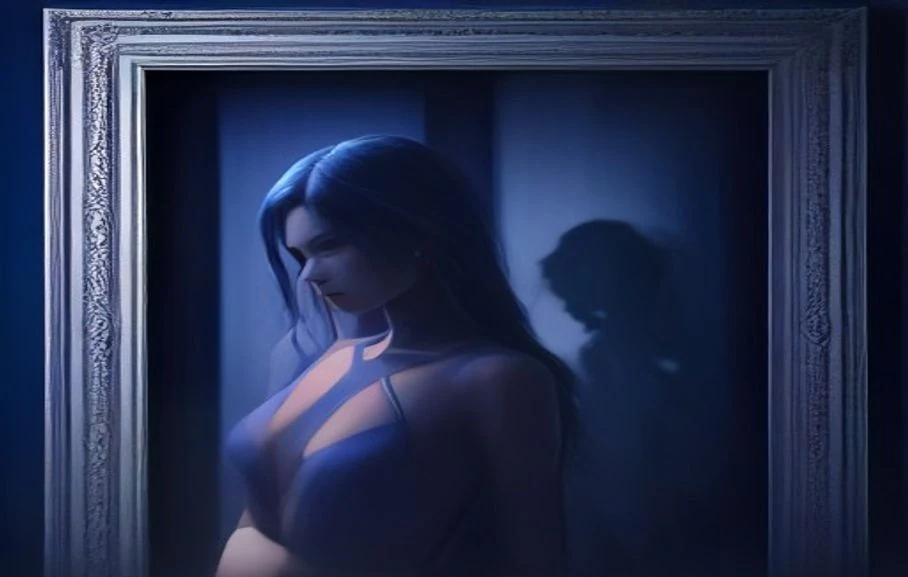 Fashion
An original fashion editorial with architectural cobalt-blue and vermilion clothing, sculptural fabric, and geometric shadows
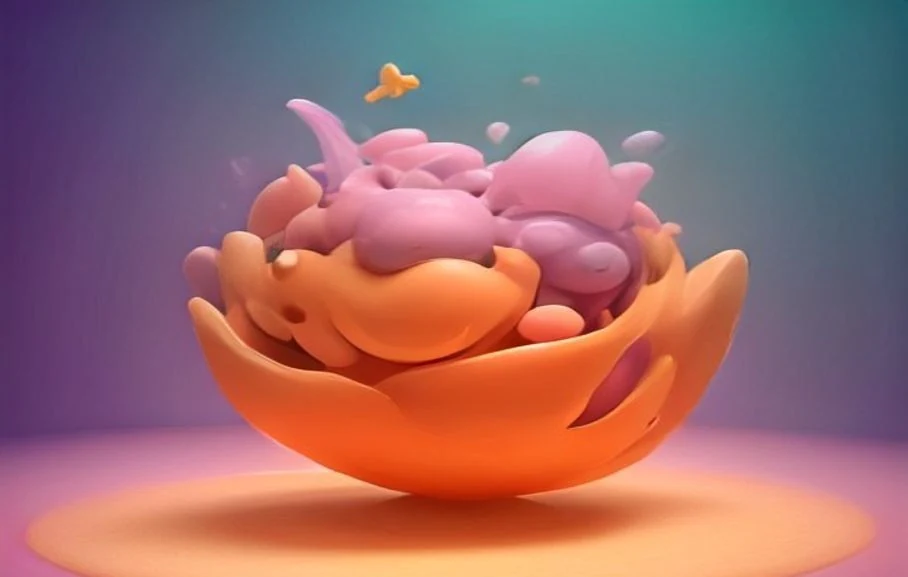 3D
3DA playful orange character moving through a surreal landscape of rounded coral, mint, lilac, and yellow forms
 Consistency
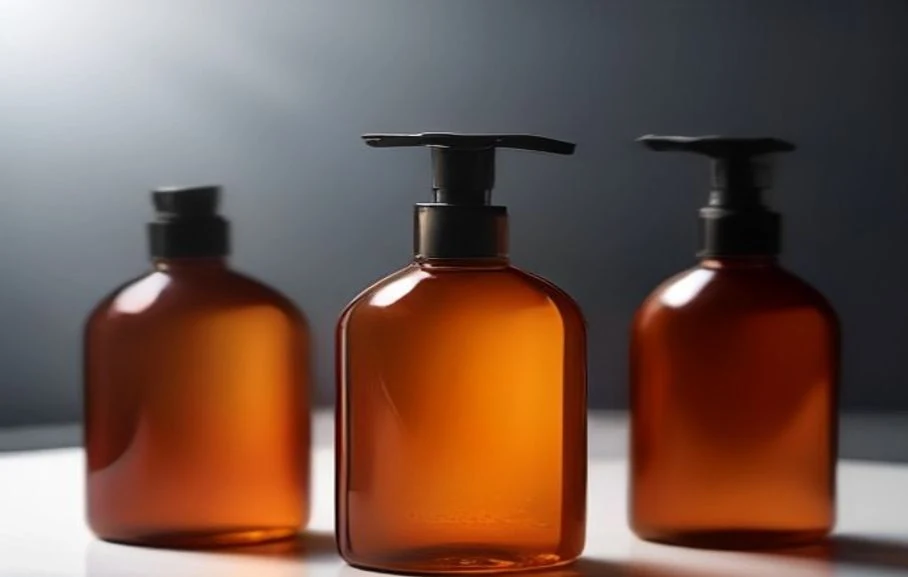
The same amber glass skincare bottle shown consistently across three coordinated commercial scenes
 Editing
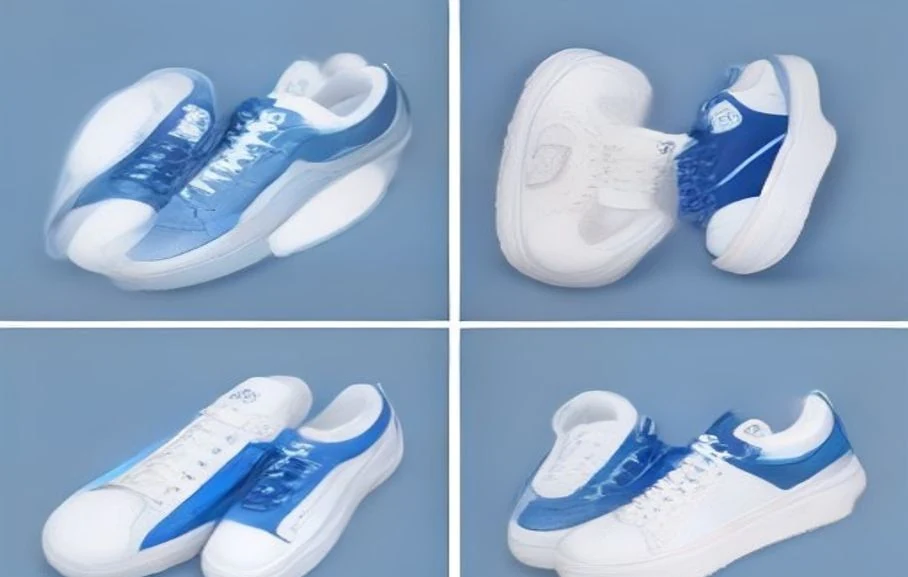
A precise sneaker edit that changes one side panel to cobalt blue while preserving the original scene
GPT Image 2.5 guide
This GPT Image 2.5 generator is built for production prompts: subject, style, constraints, and optional references. Start on Flare to explore, then move a shortlist to Sunburst when detail or typography matters.
A useful workflow separates briefing, exploration, refinement, and review. Begin with the decision the image must support, not with a favorite visual style. Write down the subject, the intended setting, the audience or use case, and the one detail that cannot be lost. That short brief gives you something concrete to compare after each generation.
Brief the image in plain language. Name the subject, the environment, the point of view, the lighting direction, the materials or textures, and any text that must appear. If a reference image is important, say what should be preserved rather than assuming the tool will infer it.
Explore with a controlled baseline. Choose a model and resolution, then keep those settings while you test the first few prompt variations. Changing the wording, model, and canvas at the same time makes it difficult to tell which choice caused an improvement or a new problem.
Refine the smallest failing detail. If the subject is right but the background is wrong, rewrite the background instruction. If the layout is right but the headline is not readable, shorten the headline or adjust the resolution. Keep a successful part of the prompt intact while you repair one issue.
Review the result against the delivery brief before downloading. Check the crop, subject identity, text, color relationships, unwanted objects, and whether the image leaves enough space for the next design step. Save the prompt and settings only after the output passes that practical check.
Pick settings from the task, not habit. The table below is the default decision order we recommend on Image25 AI.
| Setting | Use when |
|---|---|
| Flare | You need volume, drafts, or A/B creative variants quickly. |
| Sunburst | Client-ready frames, fine text, or multi-reference precision. |
| 1K / 2K / 4K | 1K for drafts, 2K for publishing, 4K for print-adjacent detail. |
| References (up to 2) | You must preserve product look, brand palette, or a prior pose. |
Order the prompt as subject → environment → lighting → materials → text-in-image → exclusions. Keep exclusions short (“no people”, “no watermark”). For posters, put the exact headline in quotes.
A good prompt is specific without becoming a pile of unrelated adjectives. Give the image a job, then describe the visual facts that help the model satisfy that job. For example, a product brief can state the item, camera angle, surface, light, background, and empty space needed for copy.
Illustrative prompt pattern
A matte black travel bottle standing upright on pale stone, three-quarter product angle, soft window light from the left, subtle condensation, warm neutral background, clean space on the right for a short headline, no hands, no watermark.
After the first result, compare it with the brief in a fixed order so you do not chase every visible difference. A small change is easier to evaluate than a complete rewrite.
Failure recovery is usually easier when you diagnose the category of the problem first. Do not spend another credit by changing every setting at once; isolate the mismatch, make one targeted change, and compare again.
A generation is not finished when the preview looks interesting. Use a short acceptance check that matches the job. It is especially useful for images that will receive text, cropping, retouching, or product information in a later tool.